
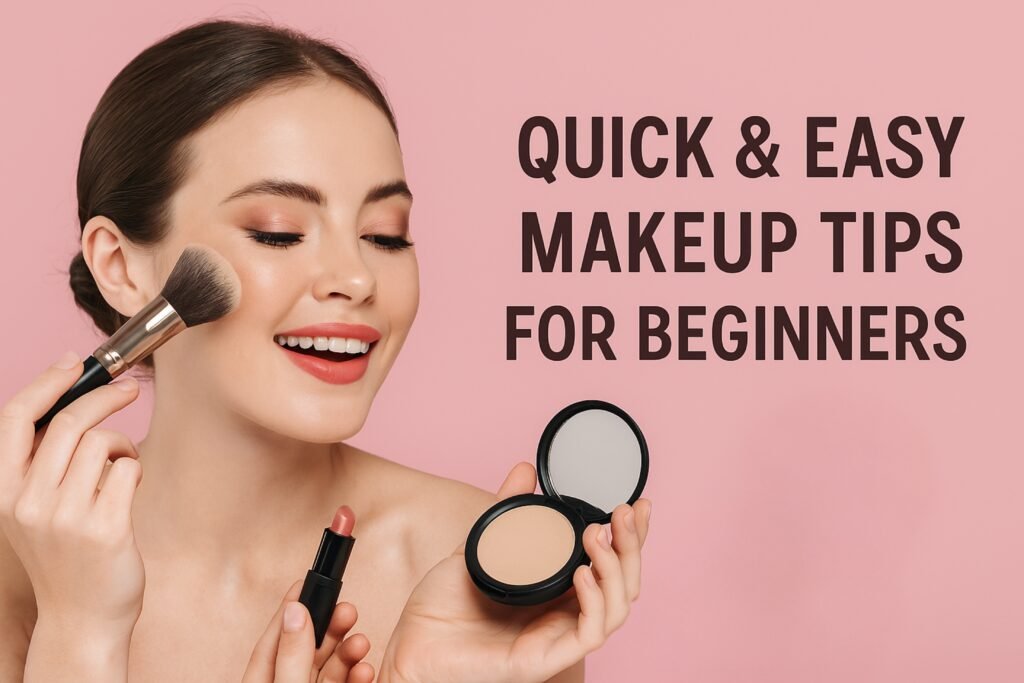
Let’s get real here—makeup is both magical yet somehow terrifying if you’re a beginner. You look at all these beauty gurus smoothing their faces out like professional artists and you’re like, “Is this a brush or a weapon?”
Worry not, bestie. We’ve all been there. Our guide is your stress-free, simple-to-understand, step-by-step makeup introduction. We’re bypassing the overwhelming technical talk and serving it up straight to you—with a side of laughs and a whole lot of love.
Step 1: Begin with Skincare (Seriously, Don’t Skip This)
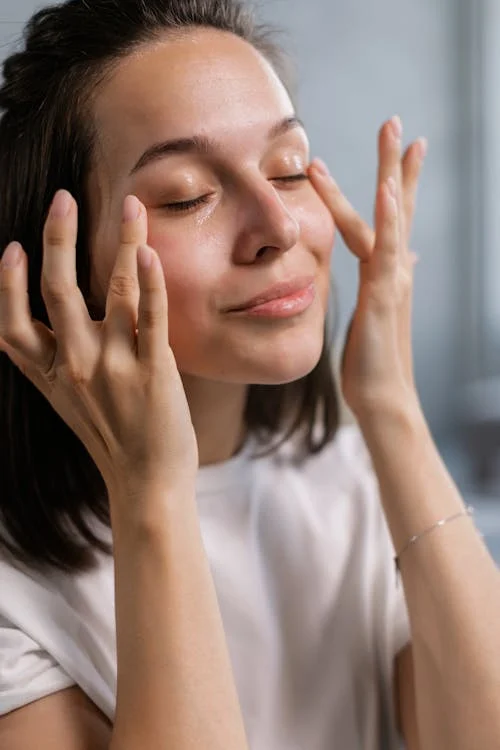
Before you even examine a foundation, make certain your skin is prepped. Clean skin = happy makeup.
- Cleanse: Wash your face even if you’ve only woken up.
- Moisturize: Dry skin and foundation do not mix. Do not let them battle on your face.
- Sunscreen (AM only): Guard your skin like it’s your Wi-Fi password—it’s a must.
Pro Tip: Consider skincare as the primer to painting a wall. Do you paint on dusty drywall? No. Precisely.
Step 2: Your Makeup’s Best Friend PRIMER
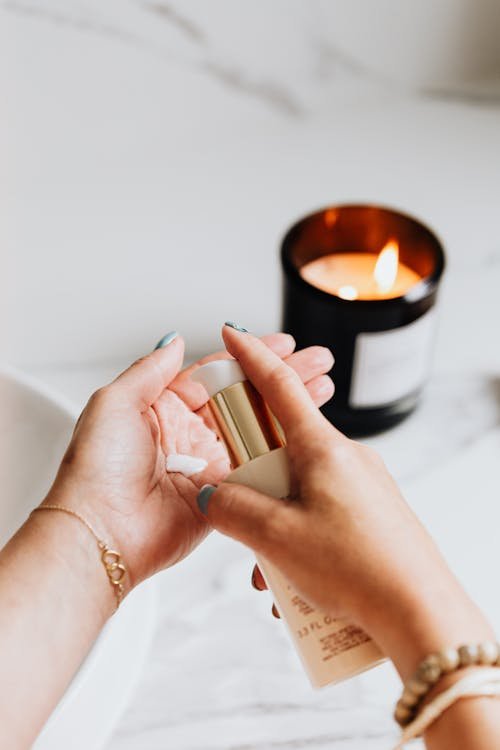
Primer will keep your makeup on all day while giving your skin a smoother appearance.
- Oily skin? Try a mattifying primer.
- Dry? Use a hydrating primer.
- Pores as large as planets? Pore-filling primer is your savior.
Optional but definitely a must do—if you want to know the truth.
Step 3: Foundation – It’s not a Mask, Alright?
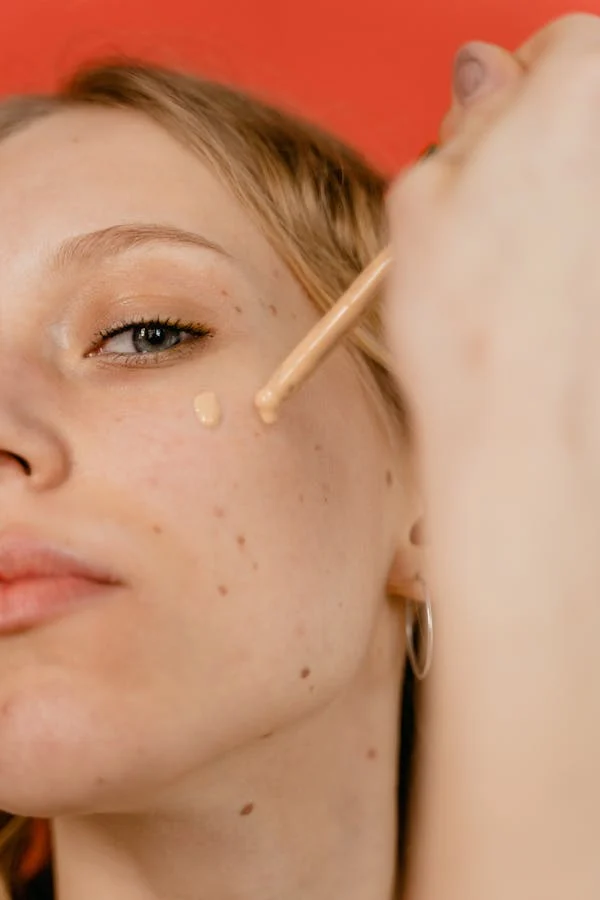
Foundation should smooth out your skin, not turn you into a glazed doughnut.
- Apply using a beauty sponge or brush (clean ones, please!) and blend well.
- Along your jawline, not your hand, not your neck. Your hand has not been out since 2018.
If you’re not certain, go light because you can always add it on, but you can’t remove it quickly.
Step 4: Concealer – Your Little Secret
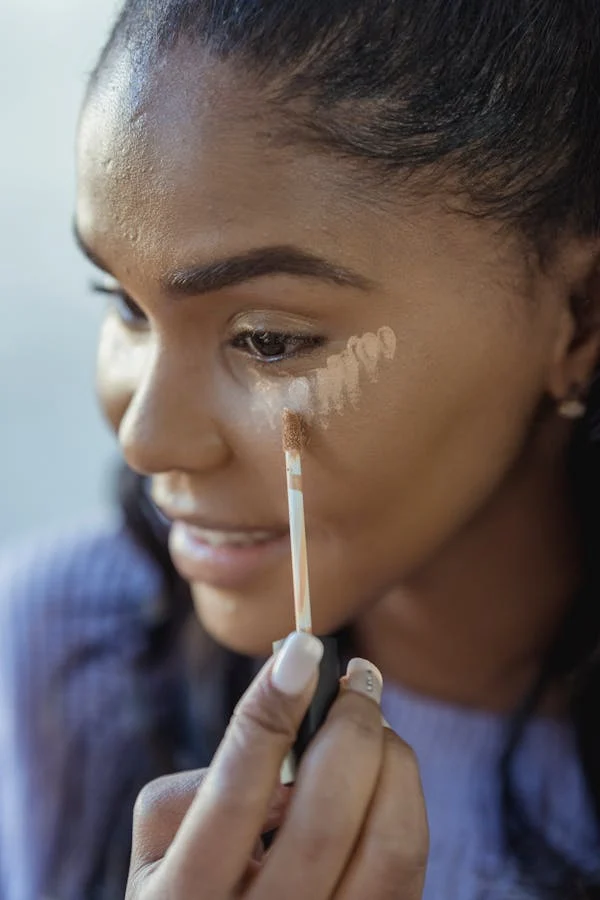
Got dark circles? Red spots? The one zit that appears on picture day?
- Apply a slightly lighter concealer under your eyes.
- For spots, apply one that is comparable to your skin color.
Dab it, not rub it. It is your face, after all, not a filthy plate.
Step 5: Brows – Sisters, Not Twins
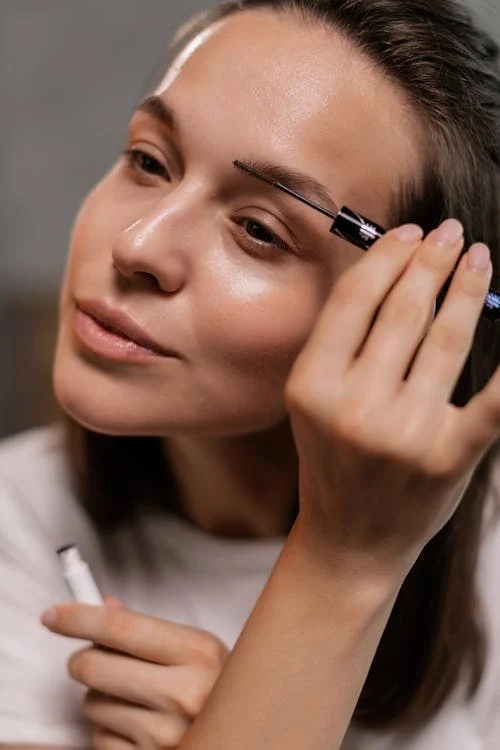
Your brows define your face, yet they do not need to look exactly alike.
- Apply a pencil or a powder that comes closest to the color of your brows naturally.
- Stay true to your natural shape and cover up sparse areas—don’t draw a completely different brow if you can help it.
Please, do blend the front of your brows. nobody wishes to see Sharpie brows in 2025.
Step 6: Eyeshadow – Begin Simply
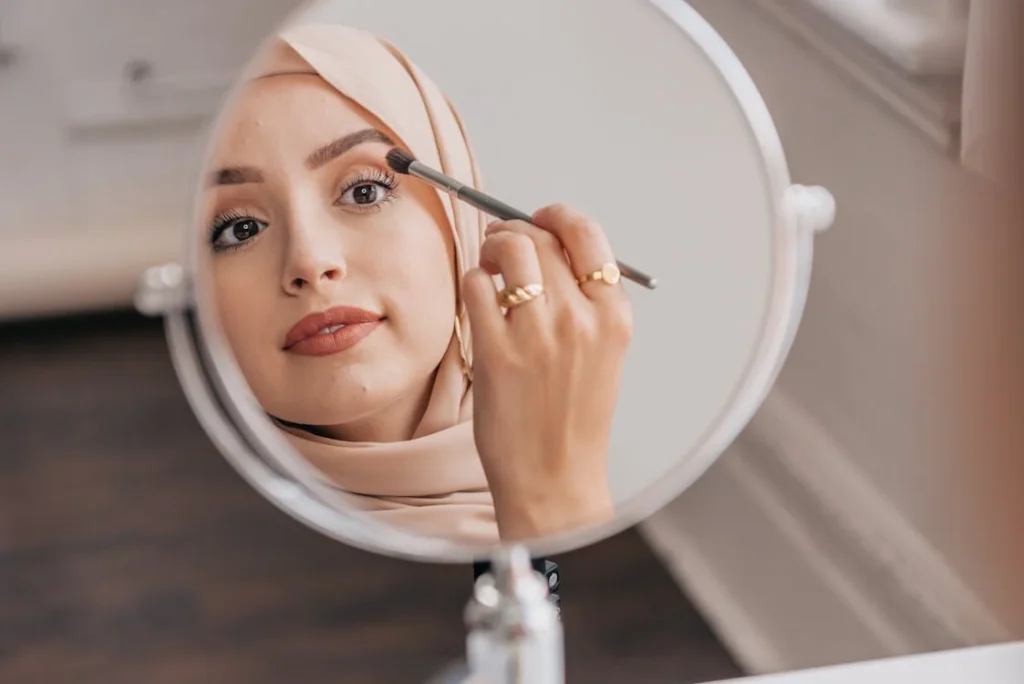
Day 1: No need for a 12-color cut crease on Day 1.
- Apply a light color on the lid, a medium tone on the crease.
- Combine like your life is at stake. (All right, not literally. But blend, please.)
Wanna keep it simple? Just swipe one shimmer color across your lid and you’re done. Boom. Instant glamour.
Step #7: Eyeliner – Apply With Precaution
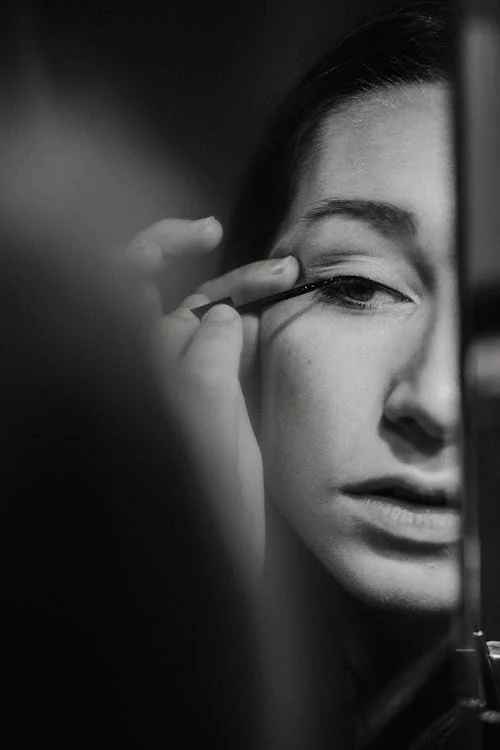
Eyeliner is finicky, I must admit.
- Use a pencil for a softer, more forgiving effect.
- Close to the lash line—unless a raccoon-chic look is your aim. In which case, I approve of your unconventional decisions.
If your wings do not match, simply inform individuals it is “artistic expression.”
Step 8: Mascara – The Cherry on Top

Mascara makes your eyes appear more awake and refreshed (whether you’re awake or not).
- Wiggle the wand from the root to the tip.
- Two coats should do the trick.
And no, pumping the wand will not solve the issue. It only introduces air. You’re not attempting to blend a milkshake.
Step 9: Blush & Bronzer – Add Life
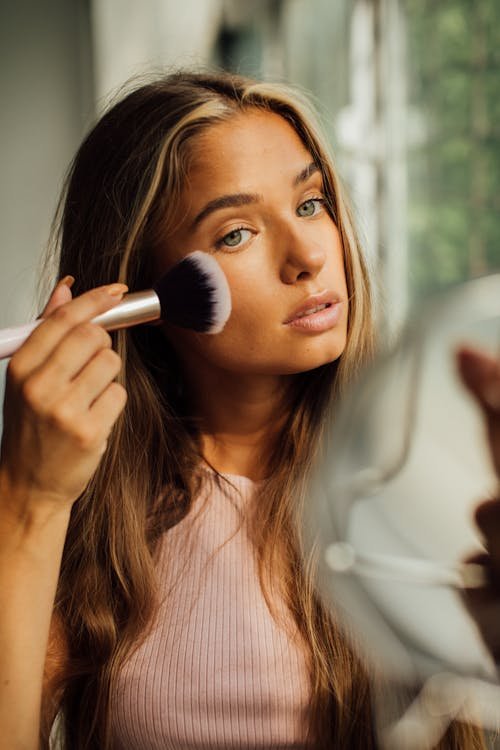
Blush: Smile, then put it on the tops of your cheeks. You’re trying to appear flushed, not hot with a fever.
Bronzer: Just brush it on where the sun will hit you – forehead, cheekbones, chin. Your entire face is not a broiler, however
Step 10: Finish Strong – Lips
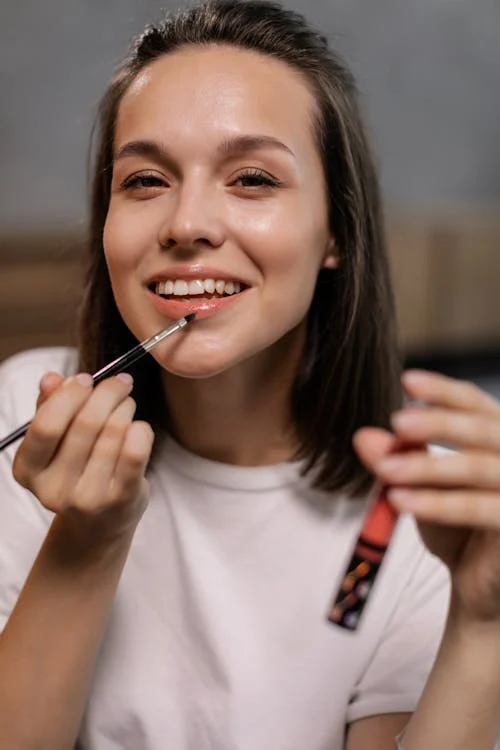
Lip color pulls it all together.
- Beginners should start with tinted lip balms or creamy lipsticks.
- Liquid lip is great, but scary if you sneeze while applying it.
Choose a color that makes you feel cute. Or fierce. Or snacky. Your lips, your choice.
Bonus Step: Lock It In With Setting Spray
One to two spritzes and you’re good to go—your makeup is set to endure a whole day of adulting (or at least faking it).
Final Thoughts: Don’t Stress, Just Practice
You do not have to be a pro on Day 1. Rome was not carved out one day at a time. Make-up is all about enjoying it, so experiment, make mistakes, laugh at yourself, and move on.
You’re cute as is. The makeup is only a little enhancement.
Frequently Asked Questions (FAQ)
- 1. Which makeup items are important for beginners?
- A lightweight foundation or BB cream
- Concealer
- Mascara
- Blush
- Lip balm or lipstick
- Eyebrow pencil
- 2. How can I make my makeup last longer?Use a primer before applying foundation, finish with powder and setting spray, and select lipstick and foundation products that last for a long time.
- 3. How can makeup be removed most effectively?Apply a mild micellar water or makeup remover; use a face cleanser afterwards; and moisturize to maintain hydrated skin.
- 4. How frequently should my makeup brushes be cleaned?
- For foundation and concealer brushes, at least once every seven days.
- For eyeshadow and powder brushes, every two weeks
- 5. How can I prevent my foundation from looking cakey?Apply in thin layers, blend thoroughly with a brush or sponge, and melt goods into the skin with setting spray.


Leave a Comment